Small business owners don’t have time to babysit spreadsheets or chase down every web inquiry. If you already use Zendesk Sell (or are considering it), the fastest way to convert more visitors is to connect a purpose-built website chatbot that captures and qualifies leads automatically, then syncs clean data to your CRM. This guide shows you how to do that step by step—using practical checklists you can implement this week.
What is Zendesk Sell?
Zendesk Sell is the sales CRM from Zendesk designed to help teams manage leads, deals, and activities in a structured pipeline. For small businesses, its strength is simplicity: you get a clear pipeline, built‑in tasks and reminders, email and call logging, and a mobile app so you can move deals forward from anywhere. It also plays nicely with automation—making it ideal for feeding in website leads from a chatbot and triggering follow‑ups without manual data entry.
Why connect a chatbot to Zendesk Sell?
- Always-on lead capture: greet visitors 24/7, not just when someone is free to chat.
- Instant qualification: ask two to four high‑signal questions (budget, timeline, role, need) and route serious buyers to your sales rep or booking page.
- Sales pipeline automation: auto-create a Lead or Deal, assign an owner, set a due task, and place the record in the right stage—no copy/paste required.
- Cleaner data, faster follow-up: standardize field values, tag the “source = chatbot,” and cut your speed-to-lead to minutes (or seconds).
- Better reporting: attribute revenue to chatbot-sourced opportunities so you can double down on what’s working.
Research highlight
AI-forward teams grow faster: Companies that lead on AI in customer experience report 33% higher customer acquisition rates, 22% higher retention, and 49% higher cross-sell revenue compared with peers (Zendesk, 2024).1
Step-by-step: Connect your chatbot to Zendesk Sell
The outline below uses Small Business Chatbot as the example chatbot platform. The same flow works whether you capture leads via website chat or an AI voice agent.
0) Quick checklist (prereqs)
- Zendesk Sell account with admin access.
- Defined pipeline stages (for example: New → Qualified → Demo Scheduled → Proposal → Won/Lost).
- Two to four qualification questions you’ll ask in chat (see examples below).
- Decision on ownership rules (round robin, territory, or “Next available rep”).
1) Prepare Zendesk Sell for clean intake
- Create or confirm a “Chatbot” lead source. Use a consistent tag like
source:chatbot. - Add custom fields you’ll want populated automatically, such as “Use case,” “Estimated timeline,” “Budget range,” and “URL path (first touch).”
- Set default tasks for new chatbot leads (e.g., “Call within 15 minutes”).
2) Design a short, high-signal conversation
In Small Business Chatbot, turn on lead capture/qualification and keep it tight:
- Welcome + value: “We can match you with the right plan. A few quick questions?”
- Qualification (pick 2–4): “What are you looking to accomplish?” “What’s your timeline?” “Rough monthly budget?” “Business size?”
- CTA: “Want to book a quick demo or have a rep call you?”
3) Connect Small Business Chatbot to Zendesk Sell
- In Small Business Chatbot, go to Integrations and select your CRM, then choose Zendesk Sell.
- Authenticate (admin credentials or token, depending on your setup).
- Pick the object to create by default:
- Lead for net-new, lightly qualified inquiries.
- Contact + Deal if you typically start an opportunity immediately.
- Map fields (see “Field mapping” below). Include a transcript link and the page where the chat started.
- Set routing rules:
- Simple: assign every chatbot lead to a default user or team.
- Advanced: round robin by team; route by state/ZIP; or route by product interest.
4) Automate your first follow-up
- Create a follow-up task on the owner with a due time (e.g., “Call now” due within 15 minutes).
- Optionally trigger an intro email from the owner and a calendar booking link if the visitor selected “Book a demo.”
5) Test the flow
- Run two to three sample chats covering different paths (qualified, not qualified, book demo).
- Confirm the record appears in Sell, fields are mapped correctly, owner is set, and the task is created.
- Spot-check for duplicates and correct them (see tips below).
6) Launch and monitor
- Place the chatbot on high‑intent pages (pricing, services, contact, top blog posts).
- Review your first 20–30 leads; tweak questions and routing for clarity and speed.
Sales pipeline automation recipes
Recipe A: Demo scheduled → move stage + create reminders
- Trigger: visitor books a demo in chat.
- Actions: create Contact + Deal, set stage “Demo Scheduled,” add event details to the activity timeline, and assign a day-before reminder.
Recipe B: High intent but no time to talk
- Trigger: visitor selects “Send info” instead of booking.
- Actions: create Lead with “Qualified” tag, auto-email a one‑pager, set a same‑day call task.
Recipe C: Not a fit (for now)
- Trigger: budget or timeline outside target.
- Actions: create Lead with “Nurture” tag, add “Revisit in 90 days” task, and send a helpful resource.
Recipe D: Existing customer upsell
- Trigger: chatbot recognizes an existing domain or email.
- Actions: attach conversation to the current account, create an upsell Deal, notify the account owner.
Field mapping and CRM data syncing best practices
- Standardize names and phones: split first/last name; store phone in international E.164 format for clean dialing.
- Keep a transcript trail: store a link to the chat transcript in a “Conversation URL” custom field so reps have context.
- Use consistent picklists: “Use case,” “Industry,” and “Budget range” should be dropdowns—avoid free text where possible.
- Tag intelligently: add tags like
source:chatbot,intent:demo,intent:quotefor quick filtering and reporting. - Deduplicate on email first, phone second: if an email exists, update the record instead of creating a new one.
- Two-way updates: where possible, write back key updates (e.g., stage changes) so your bot can follow the right playbook next time.
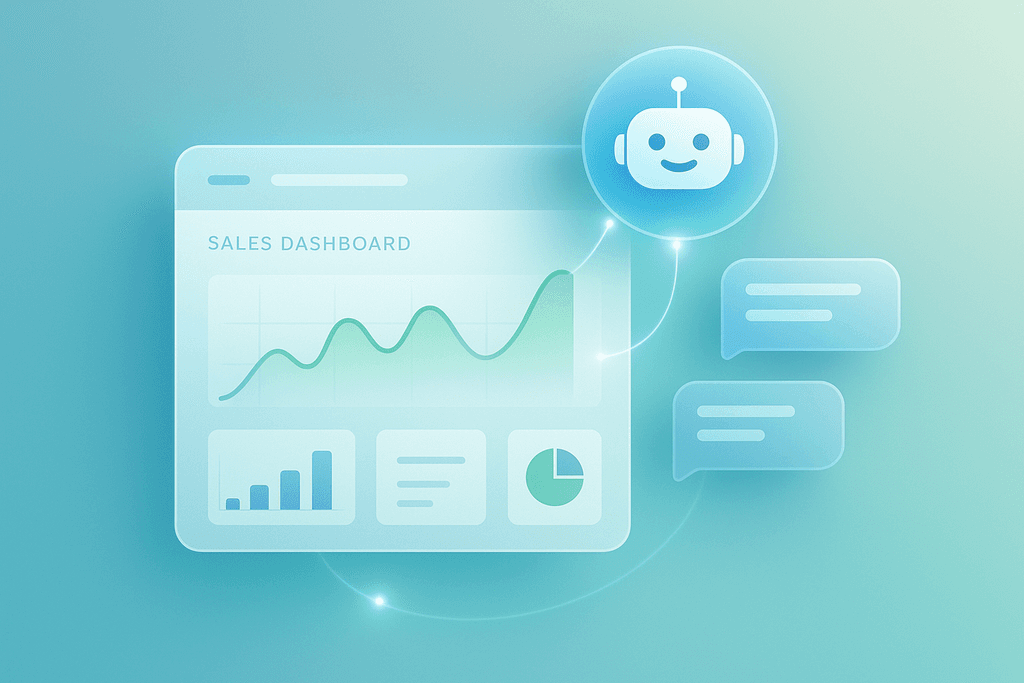
What to measure: dashboards and KPIs
- Speed to lead: average time from chat submit to first sales activity (aim for minutes).
- Lead-to-opportunity conversion rate: percentage of chatbot leads that become qualified opportunities.
- Opportunity win rate: by source = chatbot vs. other sources.
- Chatbot-sourced pipeline and revenue: deals created and revenue closed from chatbot leads.
- Self-service rate: percentage of website questions resolved by the bot without human help (saves time for sellers).
Security, consent, and compliance
- Display a short privacy notice near the chat input when you request contact details.
- Collect explicit consent for marketing outreach when required (for example, an opt‑in checkbox for email/SMS).
- Limit sensitive data collection in chat—ask only what you truly need to qualify and follow up.
- Restrict access to transcripts to your sales and success teams; review your retention policy regularly.
This content is for general guidance only and is not legal advice. Confirm requirements with your counsel and your platform admin.
Common pitfalls (and how to avoid them)
- Too many questions: ask the minimum to route effectively; 2–4 is a good rule of thumb.
- No owner set: every new lead should have a clear owner or team queue from day one.
- Inconsistent fields: mismatched picklist values create reporting headaches. Align them before launch.
- Forgetting the transcript: reps need context; save a link to the conversation with each record.
- “Set and forget”: review your first 20–30 chats and refine prompts, questions, and routing every week for the first month.
Why Small Business Chatbot is a smart fit for Zendesk Sell users
Many chat tools can capture an email address. Few are built to qualify leads, sync clean data to your CRM, and trigger meaningful next steps automatically. Small Business Chatbot focuses on exactly that, so your team can spend more time selling and less time copy‑pasting.
- No-code setup: add it to your website in minutes.
- Lead capture and qualification: prebuilt flows for demos, quotes, and contact‑us that you can tailor.
- CRM data syncing: map custom fields, log transcript links, and tag the right source to keep reports accurate.
- Chat + voice: capture leads from your site or phone with an AI voice agent, then route them into Zendesk Sell.
- Real-world results: see how other small teams use it to book more demos and respond faster.
Practical next steps
- List your top 3 qualification questions and ideal routing rules.
- Add custom fields in Zendesk Sell for “Use case,” “Budget range,” “Timeline,” and “Conversation URL.”
- Install your chatbot on high‑intent pages; connect the Zendesk Sell integration.
- QA your first 20–30 chats; refine questions and owners.
- Build the Demo‑Scheduled and Not‑a‑Fit automation recipes.
- Track “speed to lead” and “chatbot‑sourced pipeline” weekly; iterate.
Frequently asked questions for Zendesk Sell
1) Is Zendesk Sell a CRM or part of Zendesk Support?
Zendesk Sell is a standalone sales CRM within the Zendesk family. It’s focused on managing leads, deals, and activities, and can be used on its own or alongside Zendesk’s support tools.
2) Do I need to buy Zendesk Suite to use Sell?
No. Many small teams use Sell by itself. If you already use Zendesk for support, connecting the two gives you a fuller customer picture, but it’s not required for Sell to work.
3) How does chatbot integration with Zendesk Sell work?
Your chatbot collects contact details and a few qualification answers, then creates a Lead (or Contact + Deal) in Sell with mapped fields. It also assigns an owner, adds a follow‑up task, and can send a calendar link or intro email automatically.
4) What should I ask in the chatbot to qualify leads?
Keep it short. Good starters: “What are you trying to accomplish?” “When do you hope to start?” “Approximate budget?” “Best contact info?” Use 2–4 questions and let the rep take it from there.
5) How do I avoid duplicate records?
Deduplicate on email first, then phone. If a match exists, update the existing record instead of creating a new one. Use tags to track the latest source (e.g., source:chatbot).
6) Can I sync updates back to the chatbot?
Yes—when your CRM and chatbot both support write‑backs, you can update conversation logic (for example, show different prompts if a Deal is already open) and keep data in sync.
7) What KPIs should I watch after launch?
Speed to lead, lead-to-opportunity conversion, win rate, chatbot‑sourced pipeline/revenue, and self‑service rate. Review weekly for the first month and tune your playbooks.
8) How much does Zendesk Sell cost?
Pricing and tiers change periodically across vendors. Choose a plan that supports custom fields, task automation, and the level of reporting you need. Check the vendor’s current pricing page before you buy.
9) Is this approach compliant with privacy laws?
Collect only necessary data, display a brief notice near your form/chat input, and capture explicit marketing consent where required. Confirm specifics with your legal counsel.